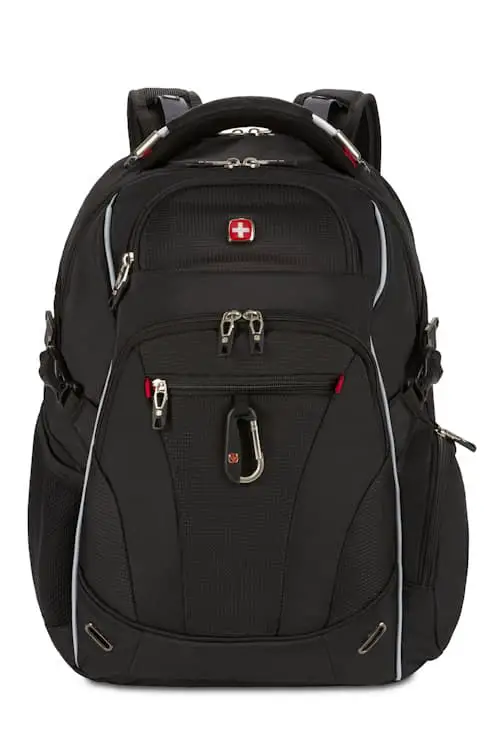
Swiss Gear backpacks are known for their durability, functionality, and sleek design. Many people like to personalize their backpacks by adding patches, whether for style or to showcase their interests or affiliations. If you are considering sewing a patch onto your Swiss Gear backpack, there are a few things to keep in mind to ensure that it is done properly and does not damage the backpack itself. In this article, we will discuss the feasibility of sewing a patch onto a Swiss Gear backpack and provide some tips for doing it correctly.
Before you start sewing a patch onto your Swiss Gear backpack, it is essential to consider the material of the backpack. Most Swiss Gear backpacks are made of durable materials such as nylon or polyester, which are generally suitable for sewing patches. However, it is crucial to check the specific material of your backpack to ensure that it is compatible with sewing.
Choosing the right placement for your patch is essential to ensure that it looks visually appealing and does not interfere with the backpack’s functionality. Consider the size and shape of the patch and how it will fit on the backpack’s surface. It is recommended to place the patch on a flat area of the backpack that is less likely to stretch or bend, such as the front panel or the top flap.
When sewing a patch onto your Swiss Gear backpack, there are a few different methods you can use:
While sewing a patch onto your Swiss Gear backpack can be a great way to personalize it, there are a few precautions to keep in mind:
Sewing a patch onto your Swiss Gear backpack can be a fun and creative way to personalize it. By considering the material of the backpack, choosing the right placement, and using the appropriate sewing method, you can successfully attach a patch without damaging your backpack. Remember to take precautions, test the sewing area, and consider alternative methods if needed. With a little care and attention, you can add a unique touch to your Swiss Gear backpack. Happy sewing!