

Replacing the wheels on your Swiss Gear luggage is a relatively simple process that can extend the life of your luggage and ensure smooth and hassle-free travel. In this article, we will guide you through the steps to replace the wheels on your Swiss Gear luggage effectively.
Gather the Necessary Tools: Before you begin the replacement process, make sure you have the following tools ready:
Screwdriver (Phillips or flathead, depending on the screws used)
Replacement wheels (make sure they are compatible with your Swiss Gear luggage model)
Pliers (optional, for removing stubborn screws)
Identify the Wheel Type: Swiss Gear luggage typically has two types of wheels: inline skate wheels and spinner wheels. Determine which type of wheels your luggage has, as the replacement process may differ slightly between the two.
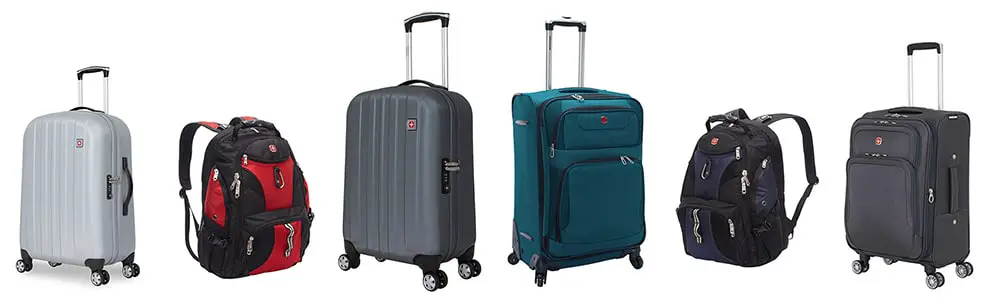
N.B Here are the most common luggage wheels
[amazon box=”B073VHSCQZ, B07BK6TCKY, B0C1VNQ1FZ” template=”table”]
Remove the Old Wheels: Locate the screws that secure the wheels to your luggage. In most cases, these screws are located on the bottom of the luggage near the wheel. Use a screwdriver to remove the screws and set them aside in a safe place. If the screws are tight or difficult to remove, you can use pliers to provide additional leverage.
Once the screws are removed, gently pull the old wheels away from the luggage. If the wheels are stuck, apply gentle pressure or wiggle them back and forth until they come loose. Be careful not to damage any other parts of the luggage during this process.
Prepare the Replacement Wheels: Take your replacement wheels and ensure they are compatible with your Swiss Gear luggage model. Check for any additional screws or components that may need to be attached to the new wheels. Follow the manufacturer’s instructions that come with the replacement wheels, if available.
Install the Replacement Wheels:
Line up the holes on the replacement wheels with the holes on the luggage where the old wheels were removed. Insert the screws provided or reuse the original screws if they are in good condition. Tighten the screws securely using a screwdriver. Make sure the wheels are firmly attached to the luggage and can rotate freely.
Test the New Wheels: Once the replacement wheels are installed, give them a test by rolling the luggage on a flat surface. Ensure that the wheels rotate smoothly and that there are no wobbling or dragging issues. If you notice any problems, double-check the installation and make any necessary adjustments.
Repeat the Process: If you need to replace multiple wheels on your Swiss Gear luggage, repeat the above steps for each wheel.
[amazon box=”B07R97RT1J”]
By following these steps, you can easily replace the wheels on your Swiss Gear luggage and restore its functionality for your future travels. Remember to use compatible replacement wheels and ensure that they are securely attached to the luggage. Safe travels!