

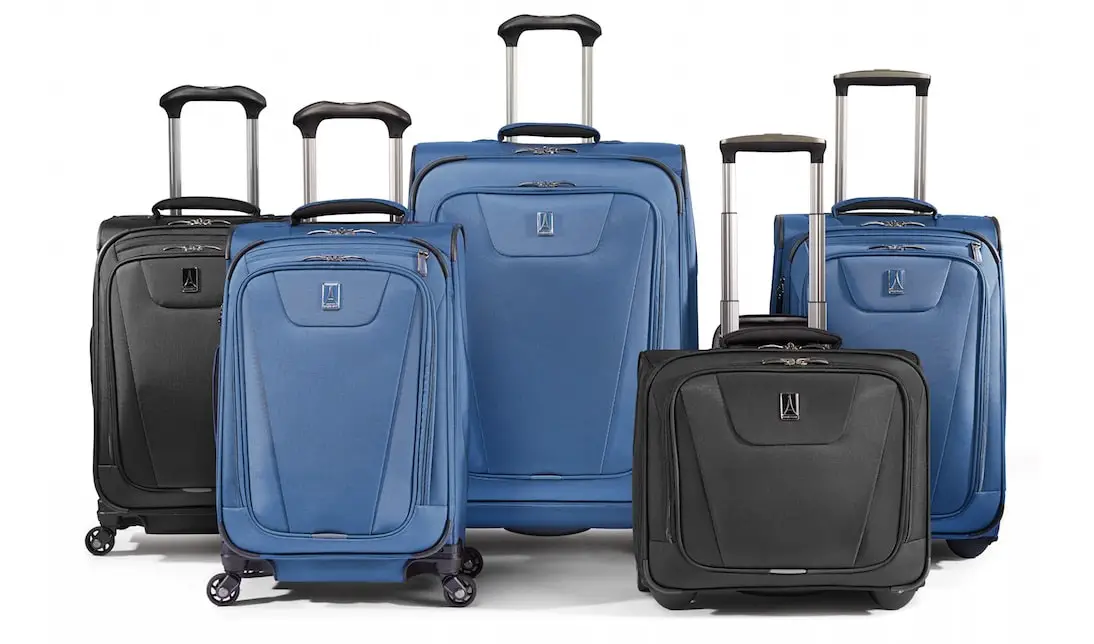
Travelpro luggage is known for its durability and quality, but over time, the wheels may wear out or become damaged due to frequent use or rough handling. Fortunately, Travelpro luggage is designed with replaceable wheels, making it easy to extend the lifespan of your suitcase by replacing the wheels when needed. In this article, we will guide you through the process of changing the wheels on your Travelpro luggage, ensuring that you can continue your travels smoothly and hassle-free.
Before you start replacing the wheels on your Travelpro luggage, make sure you have the following tools ready:
Place your Travelpro luggage on the work surface with the wheels facing upwards. This will allow you to easily access and remove the old wheels.
Take a close look at the wheels and locate the screws that are holding them in place. Depending on your luggage model, there may be anywhere from two to four screws per wheel. Use your screwdriver to carefully remove these screws and set them aside in a safe place.
Once the screws are removed, gently lift and pull the old wheels away from the luggage. If the wheels are tightly attached, you may need to apply some pressure or wiggle them slightly to loosen them. Be cautious not to damage the surrounding parts of the luggage while doing this.
Take your new replacement wheels and align them with the wheel housing on the luggage. Ensure that the screw holes on the replacement wheels line up with the corresponding holes on the luggage.
Using the screws that you removed earlier, start attaching the replacement wheels to the luggage. Insert each screw into its respective hole and tighten them securely using your screwdriver. Be careful not to overtighten the screws, as this could cause damage to the luggage or the new wheels.
After securing all the replacement wheels, give them a gentle spin to ensure they rotate smoothly and freely. If you notice any resistance or wobbling, double-check the screws to ensure they are properly tightened.
If your Travelpro luggage has more than two wheels, repeat steps 3 to 7 for the remaining wheels, ensuring that all the wheels are securely attached and functioning correctly.
By following these simple steps, you can easily change the wheels on your Travelpro luggage and restore its functionality and maneuverability. Remember to use the appropriate tools, purchase compatible replacement wheels, and take your time to ensure a proper installation. With a little effort, you’ll be able to enjoy smooth and hassle-free travels with your Travelpro luggage once again.